
How to Replace Non-Removable Laptop Battery
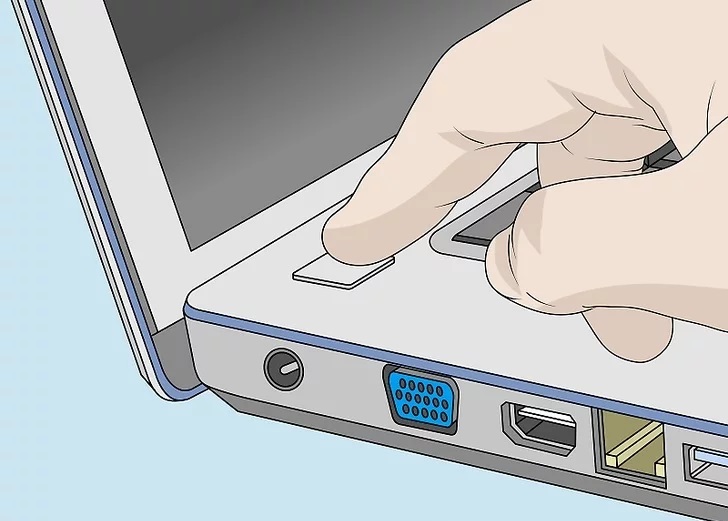
1. Power off your Laptop
You can either press and hold the power button on your laptop or click the Windows Start menu.
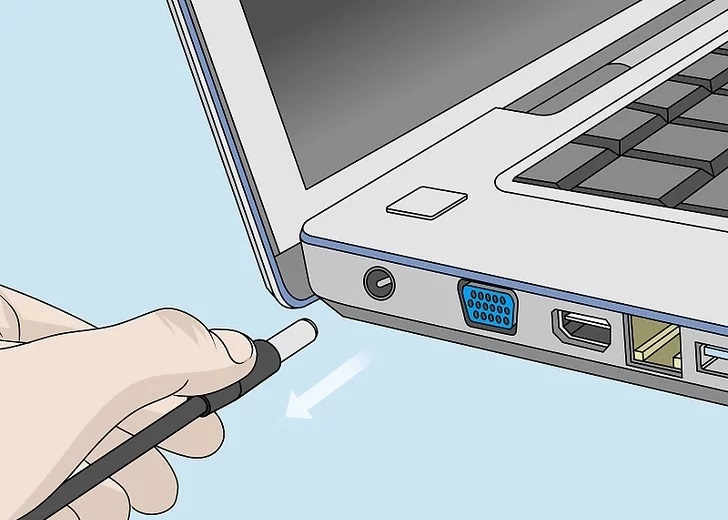
2. Disconnect the AC adapter
Unplug the AC adapter from the input on your laptop to disconnect the laptop from the AC adapter.
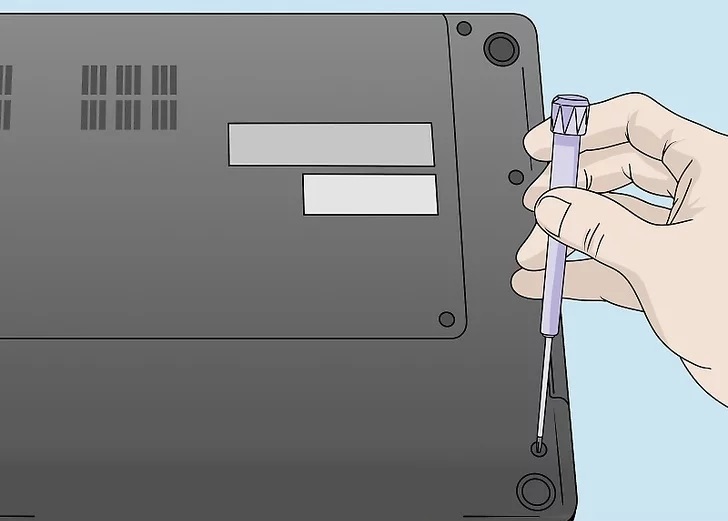
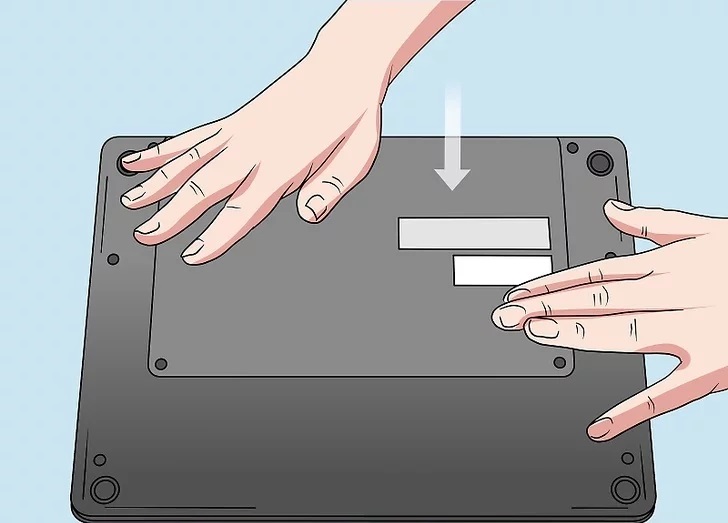
3. Turn the laptop over and remove the screws
Use a properly sized screwdriver to remove all the screws holding the bottom panel of your laptop in place. Some of the screws may be hidden under rubber screw covers. If this is the case, use a safety pin to remove the screw covers.
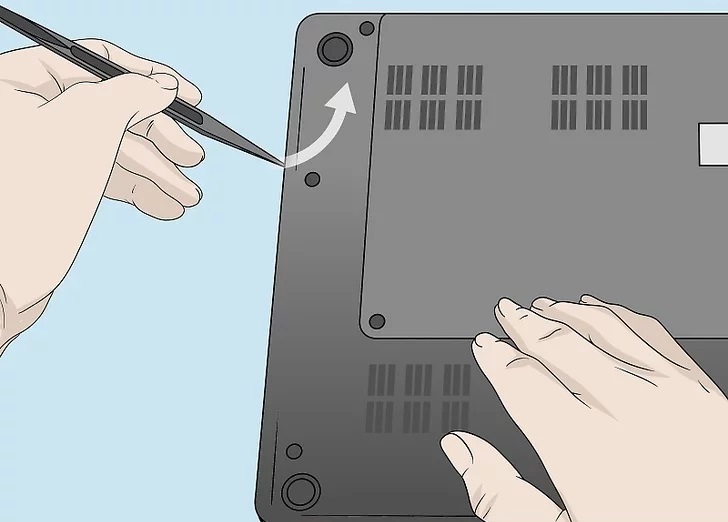
4. Use your fingernail or a plastic pry tool to detach the laptop bottom panel
Place your fingernail or plastic pry tool between the gap between the bottom panel and the rest of the laptop. Go around the edges and gently pry the back panel loose. You'll need to use a little bit of force, but try to be as gentle as possible.
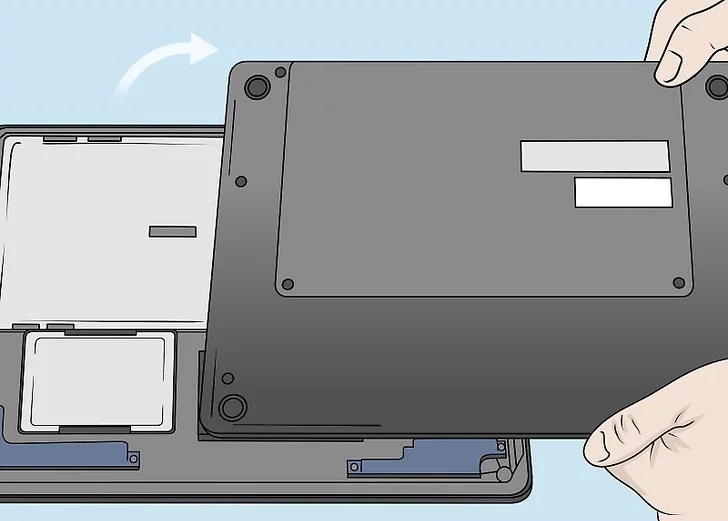
5. Lift the bottom panel off slowly
Once the bottom panel is loose, slowly lift it to reveal the inside of the computer. There may be wires or cables attached from the bottom panel to the laptop's motherboard. Be careful when lifting it.
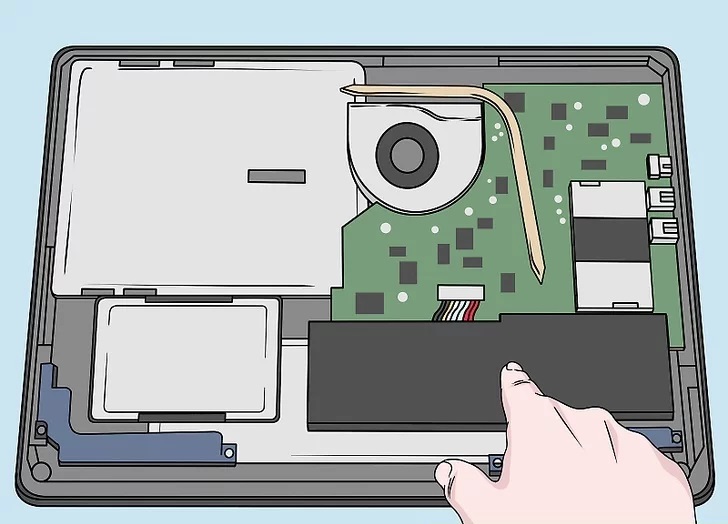
6. Locate the battery
The battery is usually a long black strip towards the back of the laptop.
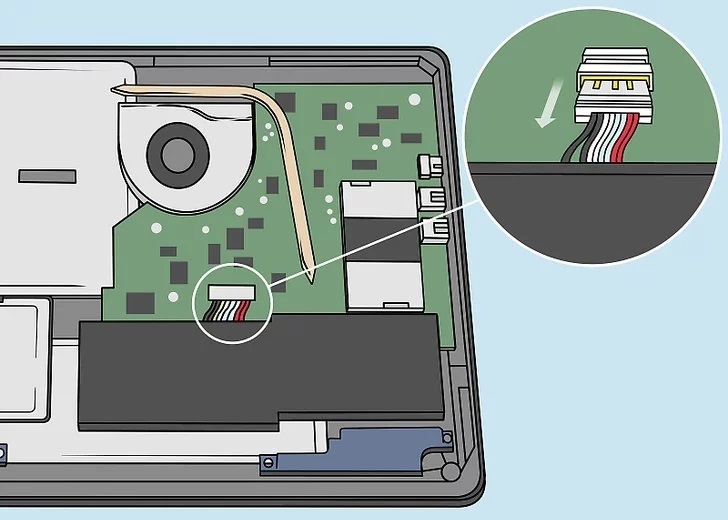
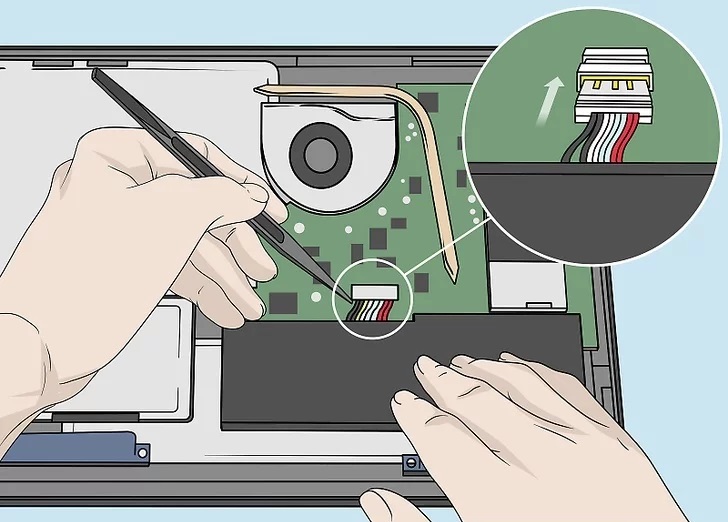
7. Detach the wires connecting the battery
There is most likely a set of wires coming from the battery and attached to the motherboard. Gently lift up on the connector that is connecting the wires to the motherboard to detach the wires.
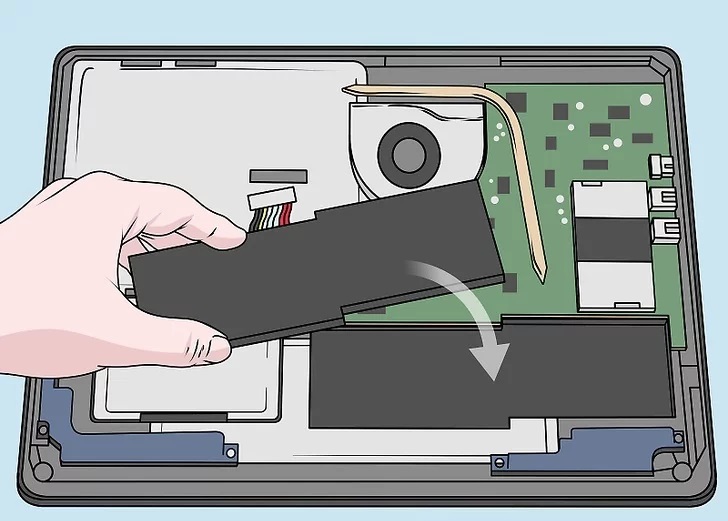
8. Insert the new battery
After removing the old battery, insert a new battery exactly as the old battery was positioned. If there are any screws holding it in place, be sure to reattach the screws.
9. Connect the battery to the computer
Use the connector that the battery wires are attached to connect it to the same port the old battery was attached to. Push down on the connector so that it snaps in place.
10. Reattach the back panel
Once any cables connected to the back panel are reconnected, position the back panel over the rest of the laptop and go around the edge firmly pressing down so that the back panel snaps back in place.

11. Reattach all the screws
Use a screwdriver to reattach any screws that hold the back panel on. Reinsert any rubber screw covers that may have been attached.
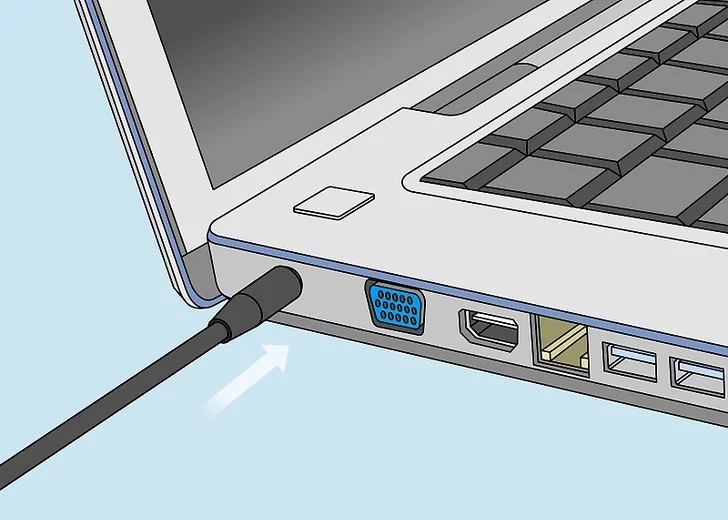
12. Reconnect the AC adapter and allow the battery to charge
Plug the AC adapter into an electrical outlet and then plug it back into the laptop. Allow a few hours for the battery to charge. Once your battery is charged, you can power on your laptop and resume use.